User Guide
Magento 2 Ajax Social Login Overview
The ease of login or register process will inevitably encourage customers to interact more with your site. While traditional sign up form might drive customers to bounce out immediately due to the complication and amount of time they have to spend on that step, login with social media method can give them more incentive to sign up on your site.
Understand the demand for a quicker and more convenient method of login and register on Magento site, BSSCommerce has developed Magento 2 Ajax Social Login which allows customers to sign through social media accounts like Facebook, Twitter, Google Plus… quickly via Ajax pop-up. With Magento 2 Ajax Social Login, customer can signup or login on a site quickly within few clicks instead of wasting time on filling in register or login form. Ajax pop-up is also a method to save up time customers might spend on loading new pages. While many people tend to forget the information they used for signup like email, username and password, social login function will help them get rid of remembering all above information. Social login also benefits shop owners by encourage site visitors to share content with their social network, which is one of the most powerful free word-of-mouth advertising.
How does Magento 2 Ajax Social Login work?
Log in as admin from backend, go to Store -> Configuration -> BSS COMMERCE -> Ajax Social Login to start setting configuration.
1. In General
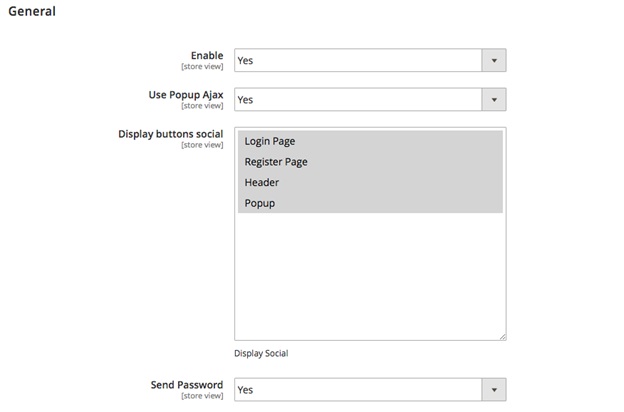
In Enable:
- Choose Yes to enable the module.
- Choose No to disable it.
In Use Popup Ajax:
- Choose Yes to enable the Ajax pop-up to replace Login and Create An Account pages.
- Choose No if disable it.
In Display button social: Hightlight to select position(s) on site that you want to place the social login block.
In Send Password: After customers successfully signed up through a social media account, you can decide whether to send them a password for following times they log in on site. With the password, customer can sign in in both ways: choose login with social account or use the email of that social account along with
the password that they received.
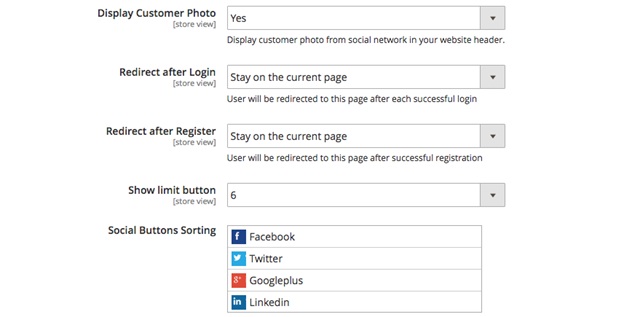
In Display Customer Photo:
- Choose Yes to display the customer’s profile photo from the social account they used for signup at wherever the customer’s photo on site usually shows up.
- Choose No to not display customer’s social photo.
In Redirect after Login: Select the page on site or any particular URL you want to redirect after customer login successfully.
In Redirect after Register: Select the page on site or any particular URL you want to redirect after customer completed register process.
In Show Limit Button: Choose the number of social login buttons which you want to display in social login block. If this number is smaller than the total amount of social accounts enabled on site, the “Show more” button will appear in social login block for customers to look for more available options.
In Social Button Sorting: You can hold and drag the social accounts to re-order the position they appear in social login block.
2. In reCaptcha
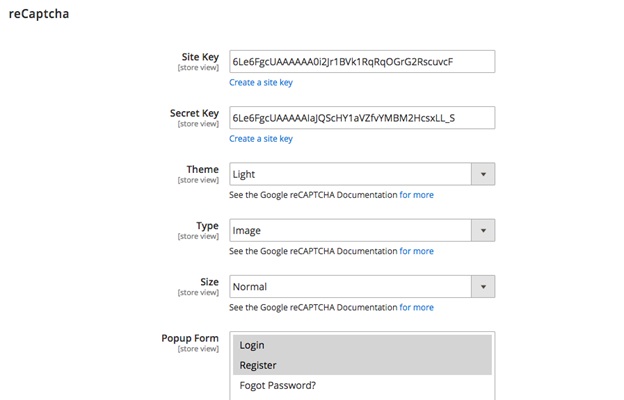
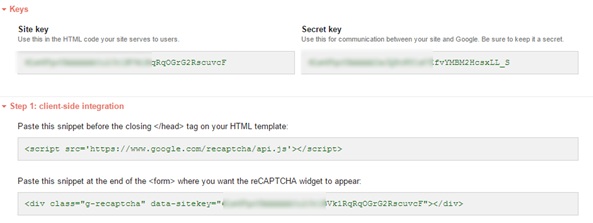
- In Site Key and Secret Key: Click “Create a site key” and register reCaptcha
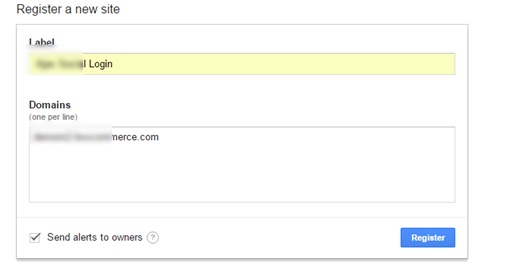
After registering, you will got the Site key and Secret key as below:
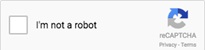
In Theme: Choose the theme of reCaptcha between:
- Light:
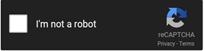
- Dark:
In Type: Choose the type of robot checking between Image and Audio.
In Size: Choose the size of reCaptcha widget between Normal and Compact.
In Popup Form: Choose the form(s) of popup on site to place the reCaptcha widget. Forms of popup to select from includes Login, Register and Forgot Password?
3. Configuration of specific social account
Take Facebook account as the example:
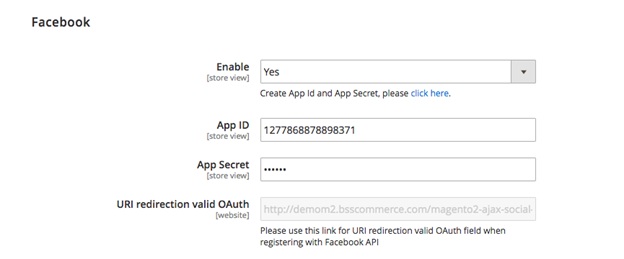
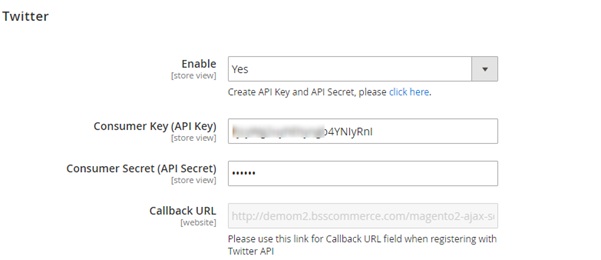
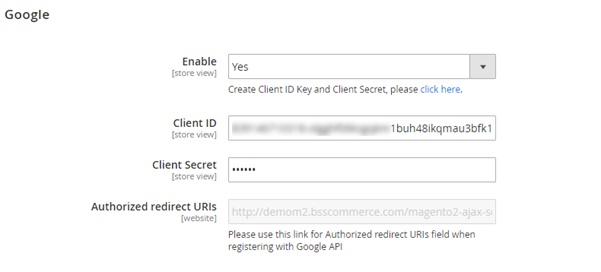
In Enable:
- Choose Yes to enable Facebook account for login and register on site.
- Choose No to disable Facebook account for login and register on site.
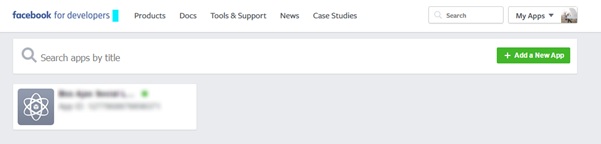
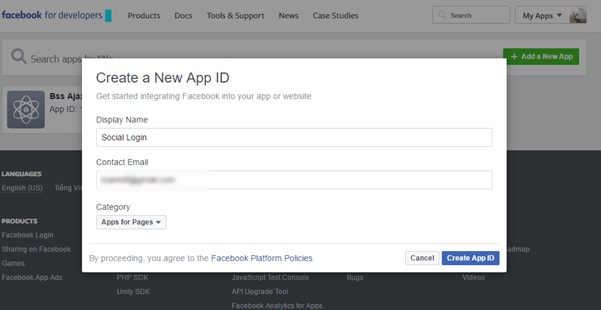
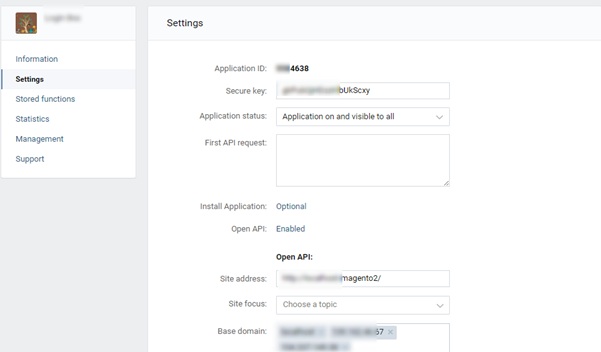
In App ID and App Secret: Click on “click here” below Enable dropdown box, you will be redirect to a page to set up new API like below
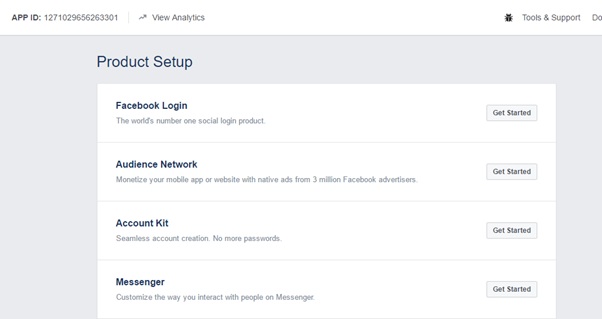
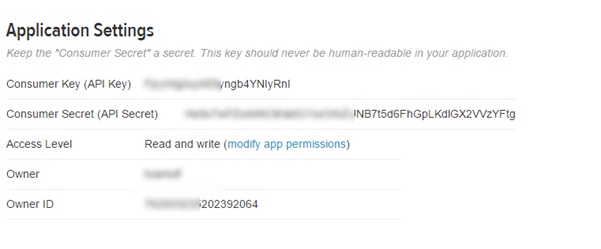
After completing register step, you will see a page as below. Click on Get Started in Facebook Login
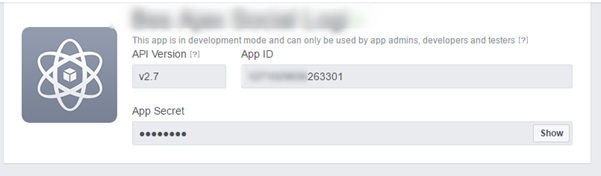
Click on Dashboard, you will see your App ID and App Secret - copy them and paste correspondingly into App ID and App Secret box in backend configuration.
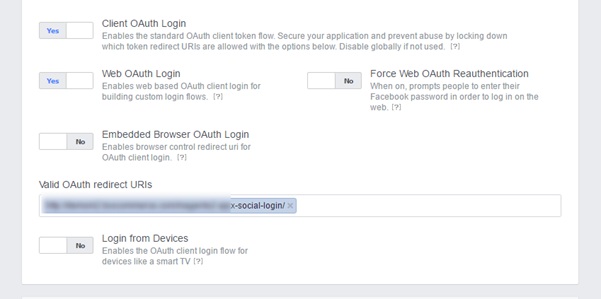
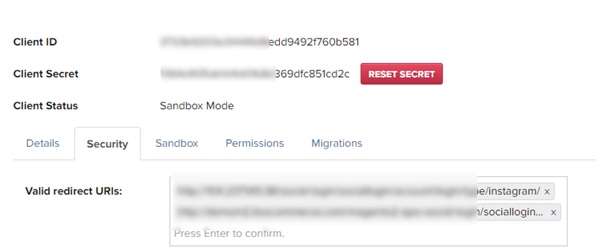
- In URI redirection valid OAuth copy the Valid OAuth redirect URIs like below and paste into the box URI redirection valid OAuth

- In Small Icon: Upload the file for icon of this account displayed in frontend.
- In Login Button Text: Customize the text in social login button.
- In Registration Button Text: Customize the text in social registration button.
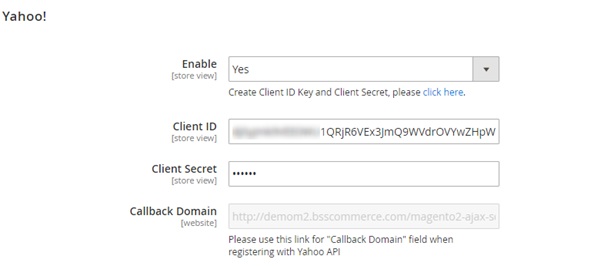
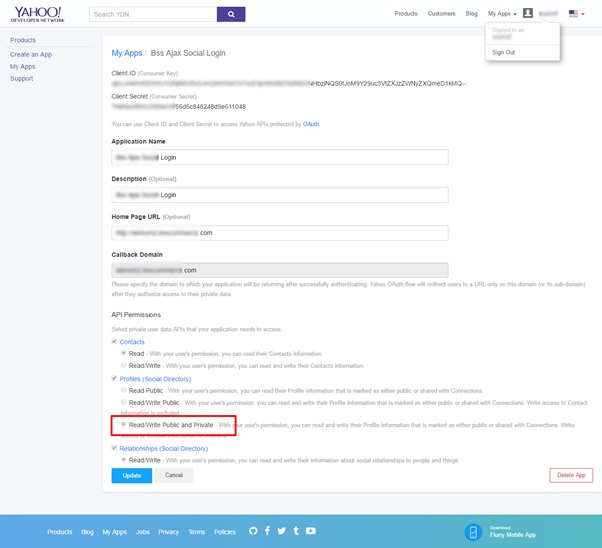
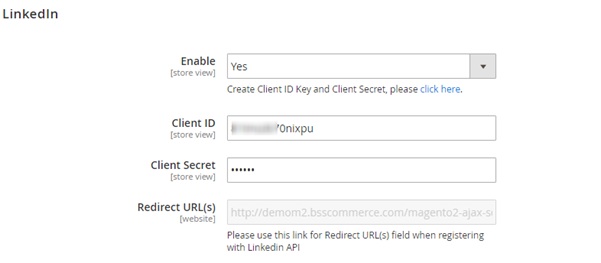
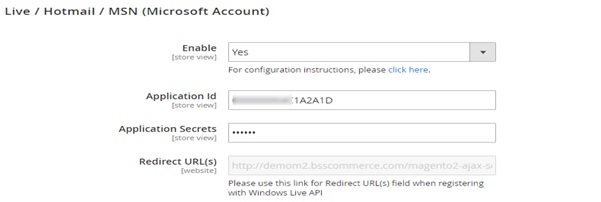
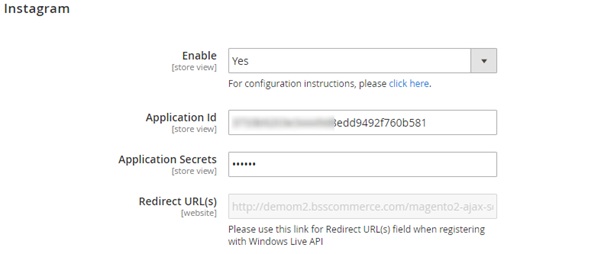
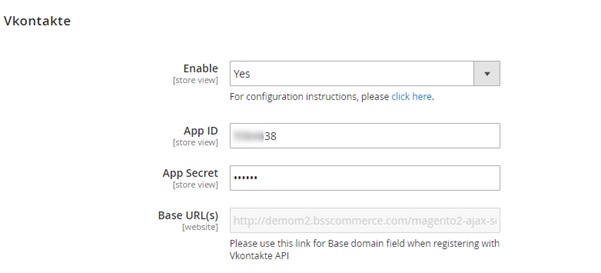
For other social accounts, follow similar steps like the setting for Facebook:

- Yahoo
- Window-Live
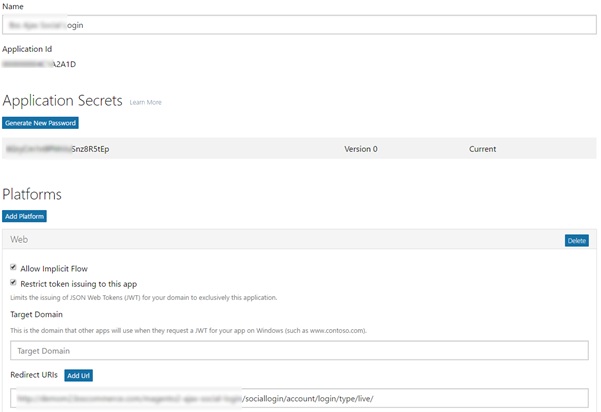
- Vkontakte
Finally, click Save Config and to complete setting process.
*Note : As claimed in the description, this module can support unlimited social accounts. Beside 8 accounts currently available for configuration, you can totally add more social media accounts to the list as wish by following below simple steps:
Step 1: Add code below to a template file
<?php echo $this->getLayout()->createBlock("Bss\SocialLogin\Block\Buttons")->
	setTemplate("Bss_SocialLogin::customer/form/login/buttons.phtml")-> toHtml(); ?>
Step 2: Put a social login button block on a CMS page
{{block class="Bss\SocialLogin\Block\Buttons" name="buttons.sociallogin"
	template=" Bss_SocialLogin::customer/form/login/buttons.phtml"}}
Step 3: Copy and paste the code below into one of xml layout files where you want to show the social button block
<block class="Bss\SocialLogin\Block\Buttons" name="sociallogin.customer.form.login.buttons"
	as="sociallogin_buttons" template="Bss_SocialLogin::customer/form/login/buttons.phtml" />