User Guide
Magento Checkout Success Page Overview
Magento Checkout Success Page extension is a unique extension which allows admin to tweak the success page or also called “thank you page” for better sales conversion.
The Success page, which appears when customer’s order process is accomplished, is often forgotten by many Magento users. Interestingly, this page can be of much value when admin know how to make use of it properly. Our Checkout Success Page Extension is designed with the hope to help you utilize the success page to empower your sale.
How does Magento Checkout Success Page extension work?
As an admin, you can set up your own store page by the most effective way that supports your trading objective. To polish the website configuration:
- Step 1: Go to Admin Panel => System => Configuration
- Step 2: At the left side of the page, find BSS COMMERCE => select Checkout Success Page
After these 2 steps, a screen for configuration appears like the below picture:
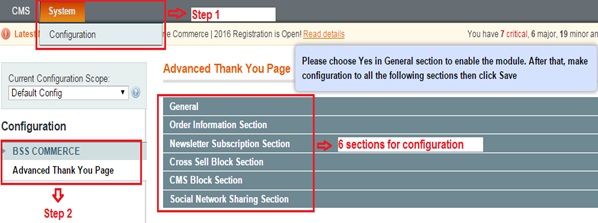
There are 6 sections for admin to continue configuring the extension: General, Order Information Section, Newsletter Subscription Section, Cross Sell Block Section, CMS Block Section, Social Network Sharing Section.
1. General Settings
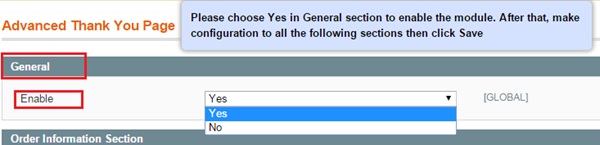
There are 2 options in box Enable: Yes and No.
- Choose Yes to enable the module and continue customizing on other sections.
- Choose No to disable this module.
2. Order Information Section
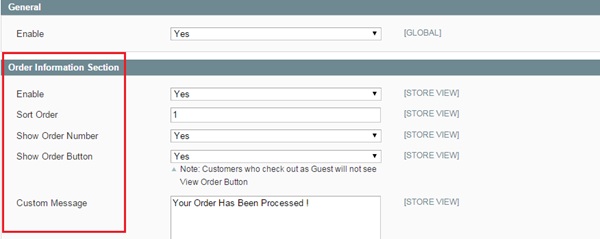
There are 5 boxes appear in this section:
- Enable: Choose Yes to enable appearing order’s detail information on the Thank you page. Otherwise, choose No.
- Sort Order: Insert appearing ordinal number of order information (E.g: if you insert “1” => order information will appear first on the thank you page)
- Show Order Number: Choose Yes to enable showing Order number on the thank you page. Otherwise, choose No.
- Show Order Button: Choose Yes to show View Order button for customer on thank you page. This button allow customers view all their orders’ detail information when click on through a navigation.
The frontend will appear like this below picture:
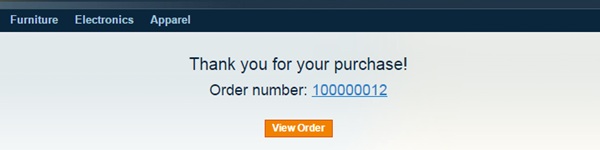
*Note: Customers who check out as guests will not able to see View Order button.
- Custom Message: Insert your custom message which appears on the thank you page to inform that orders are successful or being processed. (E.g: Your order has been processed)
After configuration, click on Save config button and reload the frontend to see the change.
3. Newsletter Subscription Section

There are 2 boxes appear for customization in this section:
- Enable: Choose Yes to enable appearing newsletter subscription on the Thank you page which allows customers subscribe their email for your newsletter. Otherwise, choose No.
- Sort Order: Insert appearing ordinal number of newsletter subscription on the thank you page (E.g: if you insert “5” => newsletter subscription will appear last on the thank you page)
The frontend will appear like this below picture:

4. Newsletter Subscription Section
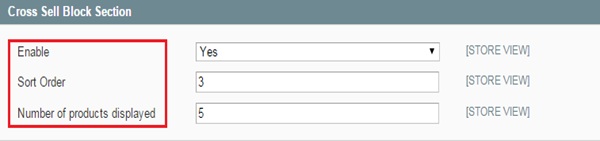
There are 3 boxes appear for customization in this section:
- Enable: Choose Yes to enable appearing cross sell block which shows related products on the Thank you page. Otherwise, choose No.
- Sort Order: Insert appearing ordinal number of cross-selling products on the thank you page.
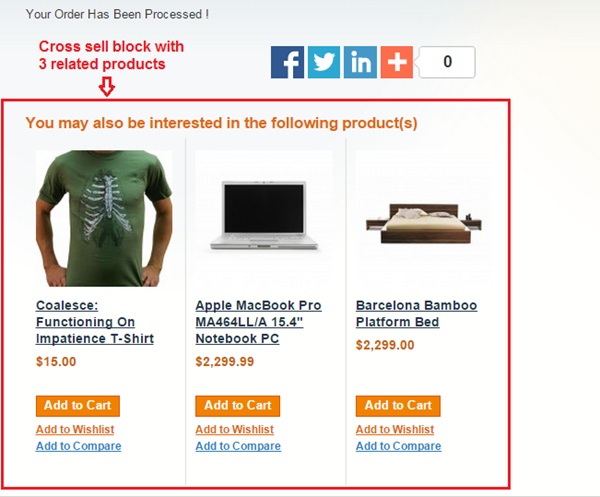
- Number of products displayed: Insert the number of related products you want to display on the thank you page. (E.g: 3).
The frontend will appear like this below picture:
5. CMS Block Section
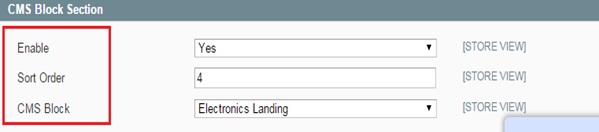
There are 3 boxes appear for customization in this section:
- Enable: Choose Yes to enable appearing CMS block on the Thank you page. Otherwise, choose No.
- Sort Order: Insert appearing ordinal number of CMS block on the thank you page.
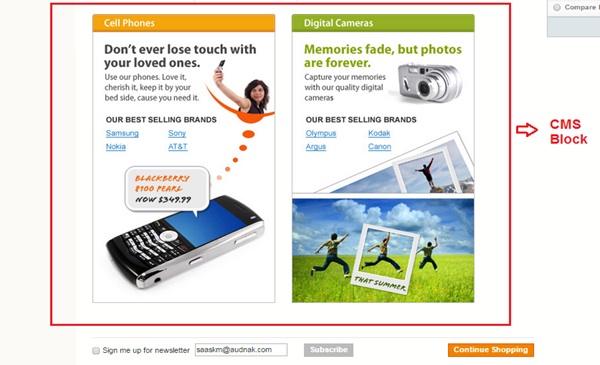
- CMS: Pick from the list the CMS block you wish to appear on the landing page.
E.g: If you choose “Electronics Landing”, the frontend will appear like this picture:
6. Social Network Sharing Section
There are 3 boxes appear for customization in this section:
E.g: If choosing “Large icons” the frontend will appear like this picture: